How to Make Tie Knot Blankets
Winters in North Carolina can be difficult – there is rarely any snow but it is always way too cold to send kids out to play. When I know snow is coming in the forecast, I like to plan the perfect snow day. In order to stay cozy warm during a snow day, one of our favorite winter activities is to make tie knot blankets. Tie knot blankets don’t require any sewing knowledge and come together very easily. Follow these simple steps:
Pick Your Fabrics
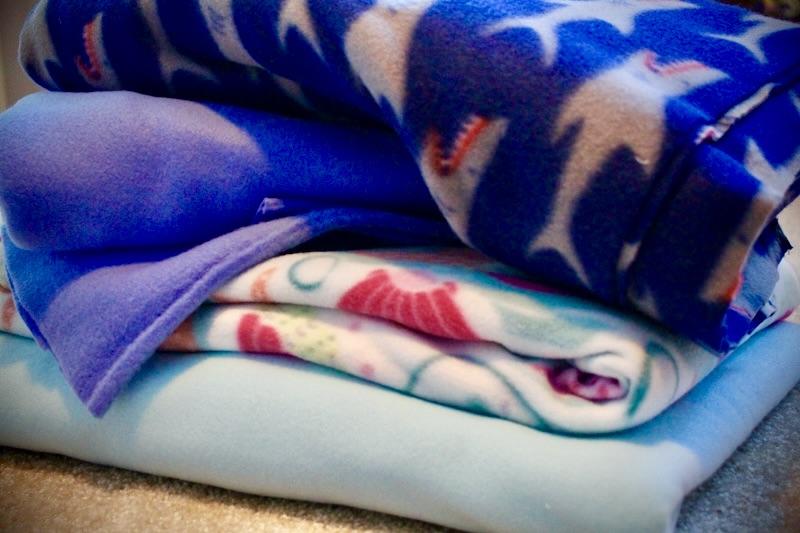
Let your kids pick out whatever fabrics they want within your budget. Fleece works well for these fabrics as they are warm and easy to work with. When we have made these in the past, my stepdaughter settled on a mermaid fabric with a light teal backing. My stepson on the other hand chose sharks with a light blue backing. For this project, I recommend two yards of each fabric (two for the front side and two for the back). If you would like a larger blanket you could go up to three yards.
To make this easier on yourself, a lot of fabric stores offer premade blanket kits with precut fabric. You can also find these online here.
Prepare Your Fabrics
You want to find a big space to work at where you can spread out – this might be on a large bed or on the floor somewhere.
First you lay out your fabrics with the backside of the prints facing in against each other. To prevent your fabrics from shifting you can use sewing pins or safety pins to keep them in place. If you don’t have any pins, just check occasionally to make sure your fabrics stay square with each other.
Cut Strips & Tie Knots
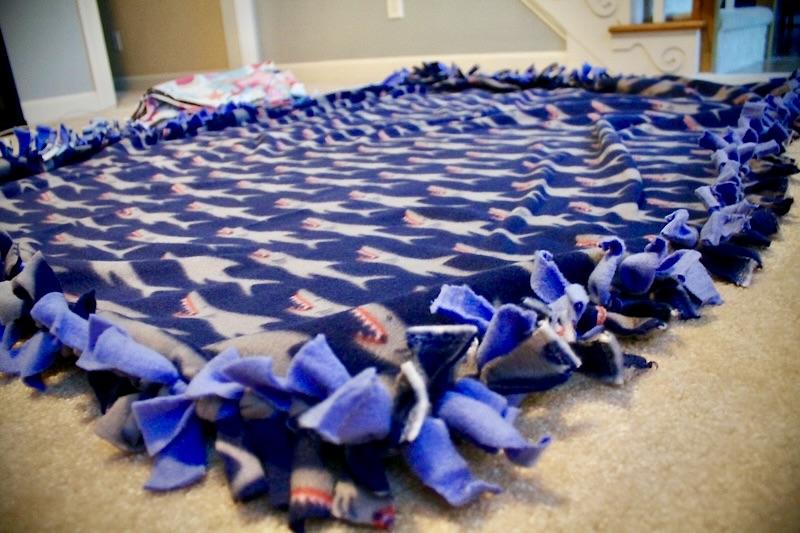
Next, cut a square out of each corner, the size you want your fringe to be. For us, this was approximately a 4- to 5-inch square.
It is easiest to start your fringe in the corners. Using your scissors, cut fringe about one-inch thick around the corners. I cut probably three or four fringes on either side of my square corner just to get started. Then you tie the bottom layer of fabric to the top; double knot it to make it stay. Repeating this on all four corners helps to make sure that the fabrics don’t move (especially if you’re not using pins).
After that, it is just rinse and repeat. You can work with your kids to create a system where one person cuts the fringe and the other follows behind tying knots. I recommend having good quality fabric scissors, because I did not when I made them and let’s just say my hand was very sore afterwards. All in all, it probably took us about 45 minutes for each blanket.
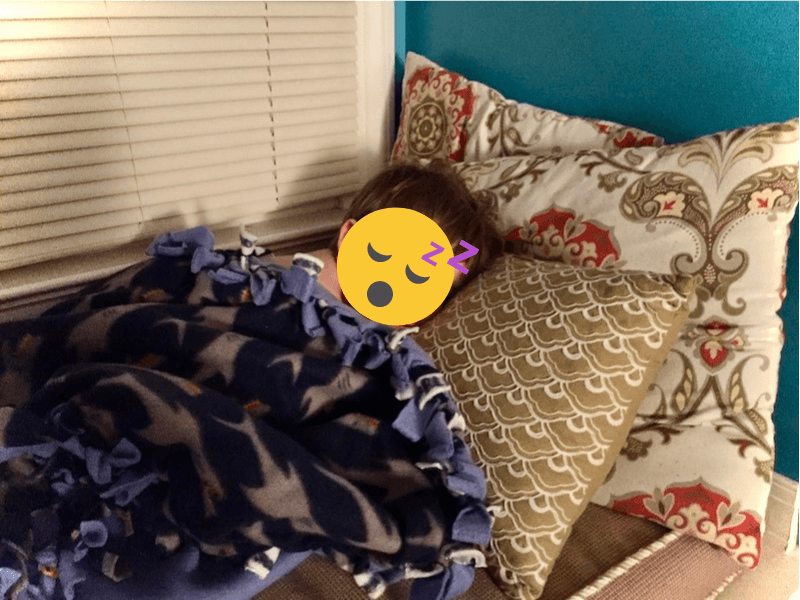
What I enjoyed most about this project is the time you get to spend with your kids making it. When you are all done, you can snuggle up and watch a movie or read a book. While the act of making these blankets are extremely easy, it is the memories and love that went into them that make them even more special.


Leave a Reply